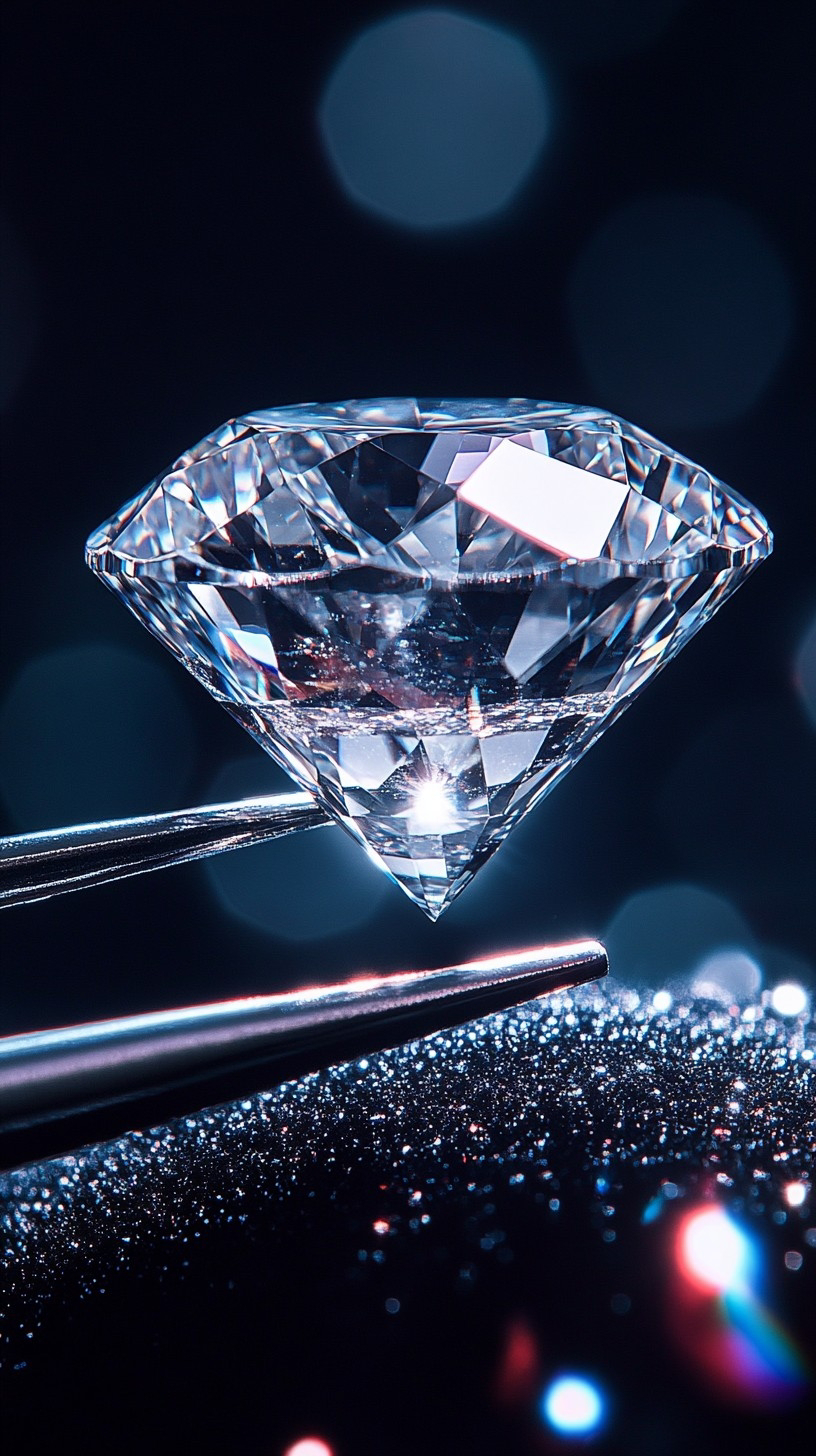
Setting a diamond, how to article

Setting a Diamond into a Setting: 
A Step-by-Step Guide

Setting a diamond into a setting can seem intimidating, but with the right tools and techniques, it can be a rewarding experience. In this article, we'll walk you through the step-by-step process of setting a diamond into a setting.

*Tools and Materials Needed*
- Diamond
- Setting (prong, bezel, or tension)
- Setting tools (prong pusher, bezel rocker, or tension tool)
- Loupe or microscope
- Diamond setting cement (optional)

*Step 1: Prepare the Setting*
Before setting the diamond, inspect the setting for any imperfections or debris. Clean the setting with a soft brush and mild soap solution. If necessary, use a setting file to smooth out any rough edges.

*Step 2: Measure the Diamond*
Measure the diamond to ensure it fits snugly into the setting. Use a loupe or microscope to measure the diamond's diameter, table size, and crown angle.

*Step 3: Position the Diamond*
Place the diamond into the setting, ensuring it's centered and aligned with the setting's prongs or bezel. Use a setting tool to gently push the prongs or bezel over the diamond, securing it in place.

*Step 4: Secure the Diamond*
Once the diamond is positioned, use a setting tool to secure it in place. For prong settings, use a prong pusher to gently push the prongs over the diamond. For bezel settings, use a bezel rocker to secure the bezel around the diamond.

*Step 5: Tighten the Setting*
Use a setting tool to tighten the setting, ensuring the diamond is securely held in place. Be careful not to overtighten, as this can damage the setting or diamond.

*Step 6: Inspect and Clean*
Inspect the setting and diamond for any imperfections or debris. Clean the setting and diamond with a soft brush and mild soap solution.
Clasps for jewelry making, the options

The Ultimate Guide to Jewelry Clasps: Types and Tutorials.

Jewelry making is an art form that requires attention to detail, creativity, and a solid understanding of the various components involved. One of the most critical elements in jewelry making is the clasp, which serves as the closure mechanism that secures the necklace, bracelet, or anklet in place. With numerous types of clasps available, selecting the right one can be overwhelming, especially for beginners. In this article, we will delve into the different types of clasps available for jewelry making and provide step-by-step tutorials on how to attach them to a necklace.

*Types of Clasps*
1. *Lobster Claw Clasp*: One of the most popular types of clasps, lobster claw clasps are easy to use and provide a secure closure. They consist of a spring-loaded mechanism that opens and closes with a lever.

2. *Toggle Clasp*: Toggle clasps are a stylish and versatile option that can be used with various types of jewelry. They consist of a bar and a loop that fit together to form a secure closure.

3. *Magnetic Clasp*: Magnetic clasps are a great option for those who struggle with traditional clasps. They consist of two magnets that attract each other, forming a secure closure.

4. *S-Hook Clasp*: S-hook clasps are a simple and elegant option that can be used with delicate necklaces. They consist of a hook-shaped clasp that fits into a loop or a jump ring.

1. *Bolt Ring Clasp*: Bolt ring clasps are a sturdy and reliable option that can be used with heavier necklaces. They consist of a ring with a bolt that screws into place, forming a secure closure.

*How to Attach a Clasp to a Necklace*
Attaching a clasp to a necklace is a relatively simple process that requires a few basic tools and some patience. Here's a step-by-step tutorial:

*Materials Needed:*

- Clasp
- Jump ring
- Chain or cord
- Pliers
- Wire cutters

*Instructions:*

1. *Thread the jump ring*: Thread the jump ring through the loop on the clasp and the end of the chain or cord.

2. *Close the jump ring*: Use the pliers to close the jump ring, making sure it's securely attached to the clasp and the chain or cord.

1. *Adjust the clasp*: Adjust the clasp to the desired position on the necklace, making sure it's centered and secure.

2. *Test the clasp*: Test the clasp by opening and closing it several times, making sure it's secure and functioning properly.

*Conclusion*
With so many types of clasps available, selecting the right one can be overwhelming. However, by understanding the different types of clasps and how to attach them to a necklace, you can create beautiful and functional jewelry pieces that will last for years to come. Whether you're a beginner or an experienced jewelry maker, this guide has provided you with the knowledge and skills necessary to take your jewelry making to the next level.

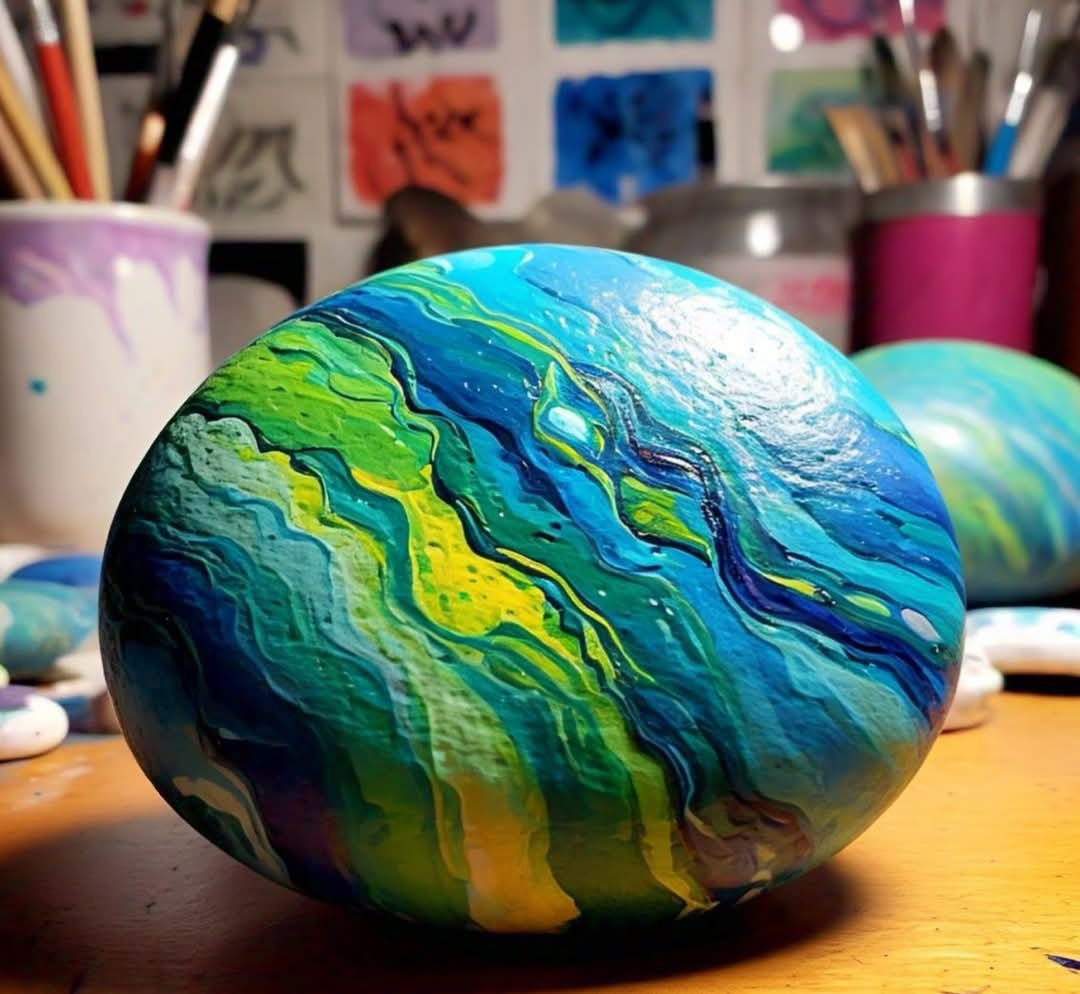
Project Ideas for your stones

Here are some creative ROCK CRAFTS to inspire you:

# Decorative Rock Crafts
1. *Painted Rocks*: Paint intricate designs, patterns, or inspirational quotes on rocks.
2. *Rock Mandalas*: Create intricate mandalas using rocks, shells, or other natural materials.
3. *Rock Mosaic*: Use small rocks to create mosaic art pieces, like tables, mirrors, or wall hangings.

# Jewelry and Accessories
1. *Rock Pendants*: Drill holes in rocks and attach them to chains or cords.
2. *Rock Earrings*: Glue rocks to earring backs or wire-wrap them for a unique look.
3. *Rock Rings*: Set rocks in ring settings or wire-wrap them for a bohemian vibe.

# Home Decor
1. *Rock Candle Holders*: Glue rocks around a candle holder or vase for a rustic look.
2. *Rock Bookends*: Paint or glue rocks to bookends for a decorative touch.
3. *Rock Coasters*: Glue rocks to coasters or use them as is to protect surfaces from water marks.

# Garden and Outdoor Crafts
1. *Rock Garden Markers*: Paint rock names or inspirational quotes on rocks for garden markers.
2. *Rock Pathways*: Create pathways using rocks, gravel, or sand for a beautiful outdoor feature.
3. *Rock Planters*: Use rocks to create planters for small plants or herbs.

# Other Creative Ideas
1. *Rock Wind Chimes*: Drill holes in rocks and attach them to wind chimes for a unique sound.
2. *Rock Mobiles*: Use rocks to create mobiles, adding a touch of natural beauty to any room.
3. *Rock Photo Displays*: Glue rocks to photo frames or use them as stands for a creative display.

These creative rock crafts will inspire you to think outside the box (or rock!) and explore the many possibilities of rock art!

www.SalesWithJessica.com

Gems popular in jewelry making

In modern jewelry-making, several gemstones are popular for their beauty and significance:

1. **Diamond**: Valued for brilliance and hardness, diamonds symbolize love and are classic choices for engagement rings.

2. **Sapphire**: Available in various colors, especially blue, sapphires are prized for their beauty and symbolize wisdom.

3. **Ruby**: Known for its vibrant red color, rubies represent passion and are often used in statement pieces.

4. **Emerald**: Celebrated for its rich green hue, emeralds symbolize growth and are elegant choices for rings and necklaces.

5. **Amethyst**: This purple quartz is popular for its beauty and is believed to promote calmness.

6. **Aquamarine**: With its soothing blue color, aquamarine symbolizes tranquility and is commonly used in jewelry.

7. **Topaz**: Especially blue topaz, is often used in earrings and necklaces, representing love.

8. **Opal**: Known for its unique play of color, opals are favored for artistic jewelry pieces.

9. **Peridot**: This green gemstone symbolizes strength and healing, commonly used in summer jewelry.

10. **Turquoise**: Valued for its vibrant hues, turquoise is popular in bohemian-style jewelry, symbolizing protection.

These gemstones enhance jewelry's aesthetic appeal while carrying emotional and cultural significance.